Import Expenses Using Spreadhseets
This help article and the video below will explain how to import expenses using a spreadsheet. This allows mygroundforce users to create multiple expenses at a time.
On mygroundforce, use the left-side menu to access Finances >Expenses Registry.
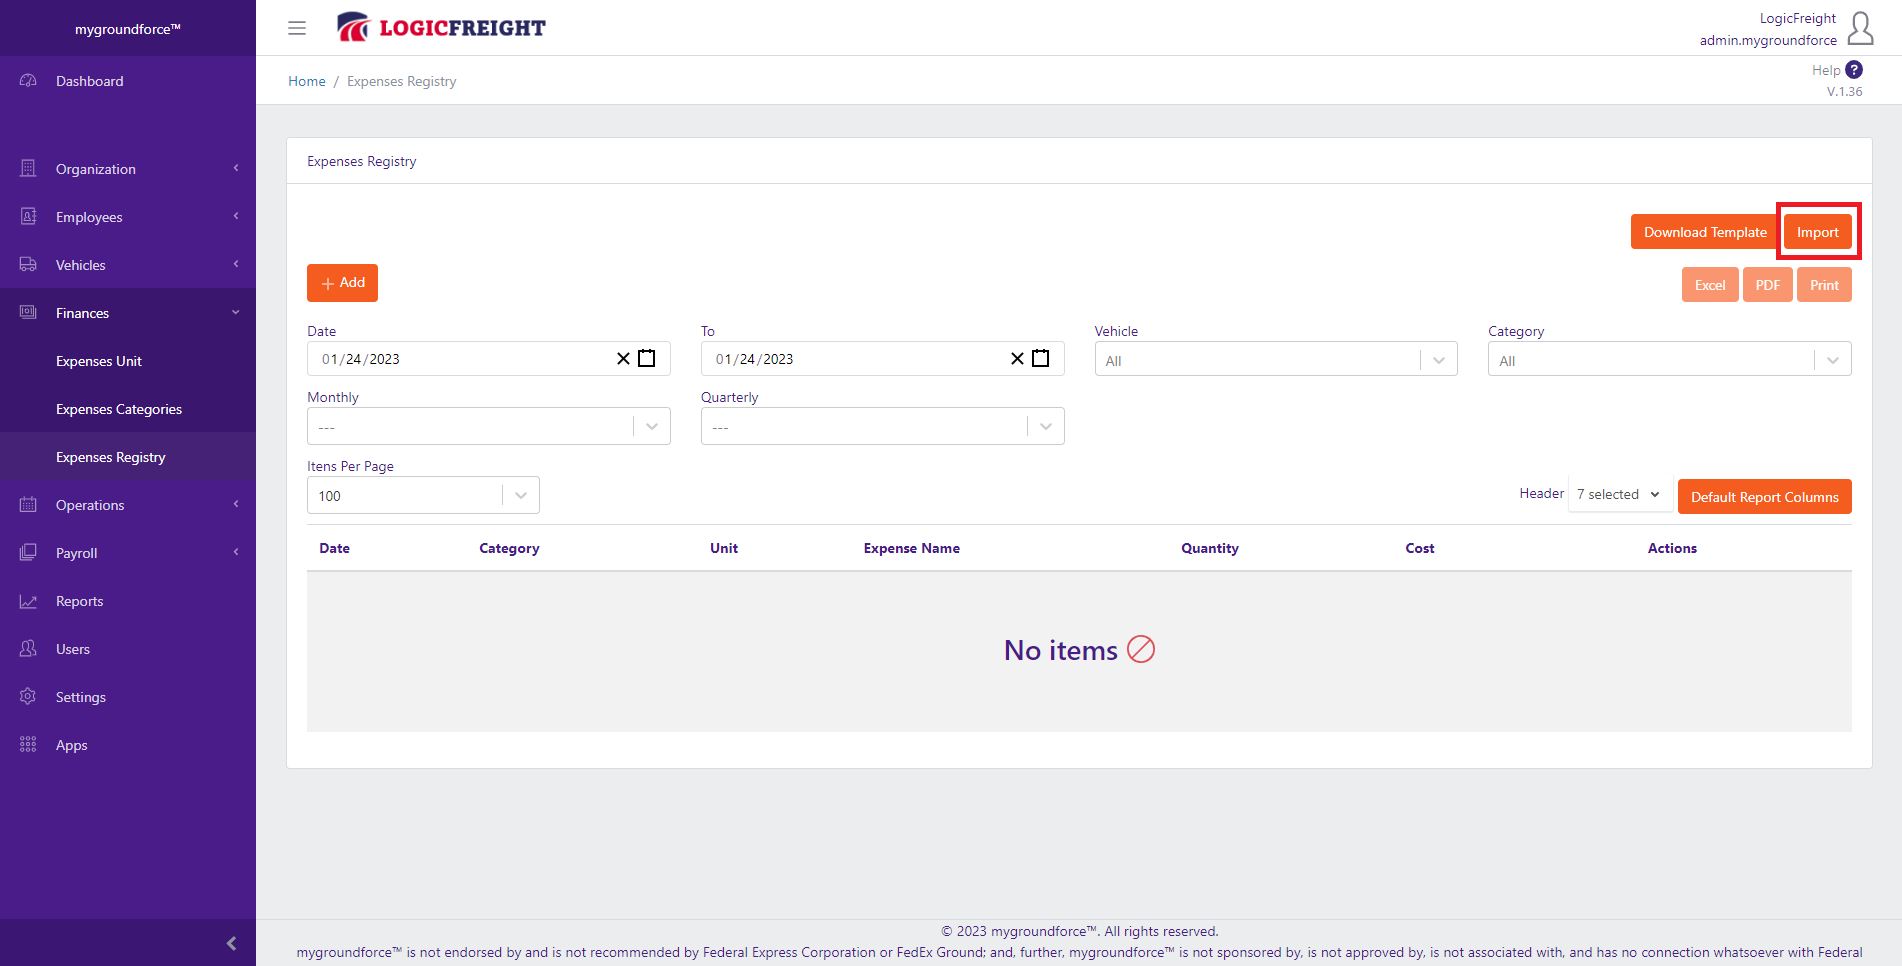
At the expenses registry screen, click "Download Template":
The system will download the spreadsheet template. Open the spreadsheet template and follow the instructions listed on the top rows:
Please keep in mind that the columns have notes on them to help filling out the spreadsheet. The notes are considering an example of a company trying to import fuel expenses:

The information entered in the spreadsheet for the fields Category, Category Type, Category Unit, and Tractor Number must be registered in the system prior to have it entered on the spreadsheet.
• Tractor number*: Is the UNIT field.
• Remarks: It's the Driver Code field.
• Date*: It's the Transaction Date field.
• Supplier: It's the Truck Stop field.
• Supplier: It's the Truck Stop field.
• Cost*: It's the Total AMT Due field.
• Quantity*: It's the Diesel Gallons field.
After finishing filling out the spreadsheet, save it, and click on the "Import" button, located on the top right corner of the Expenses Registry screen.
Click "Choose File", find the spreadsheet file previously saved, and click "Import".
If the import process finds erros, it will display a popup with records that need adjustment. If the import succeeds, it will return to the previous screen.
Use que dropdown filters on screen to search for the records you just created sing the import expenses feature: